Photoshop and Illustrator: Fancy Caps
by Mark Meyer · Posted in: nerdiness
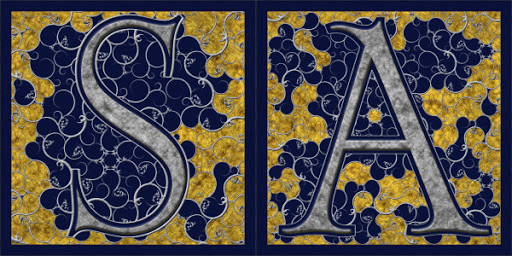
I'll be out of town for a week, so things will probably slow down here for the next few days. I'll leave you with a little weekend Adobe Creative Suite fun. This isn't meant to be a tutorial—I'm not going into all the nitty-gritty details—just an overview of the simple process of making something like the above ornamental caps. These were done for a production of Puccini's Gianni Schicchi and Suor Angelica produced by DePaul Opera Theatre last year.
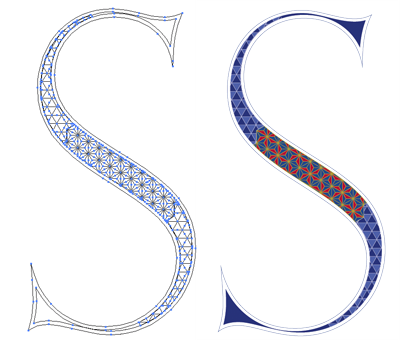
We'll start in Illustrator where we can make the basic shapes. The design has three fundamental shapes, the letter 'S', the tessellation inside the S, and the spiral ornaments. The S is from ITC's Golden Cockerel Initials and Ornaments typeface. The tessellation is a bit trickier. There are number of ways to do this in Illustrator. I used Nodebox which allows one to describe bezier paths with python that can be pasted into Illustrator. If that's not your thing, Tessella, an Illustrator plugin from Stephen Vincent, makes these sort of things very easy. The basic idea is to make the tessellation, then use a skinny version of the letter (effects->path->offset path… will help with making fat and skinny letters) to mask out the parts you don't want. Add a stroke to the normally-sized letter and you're done.
You'll have an illustrator file that looks like this (same file shown twice:outline mode and preview mode):
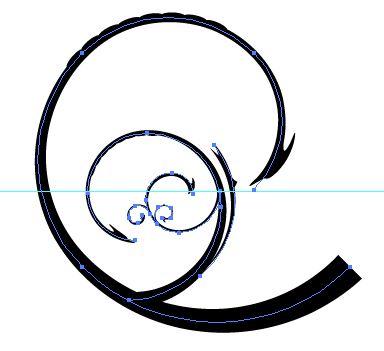
To make the ornament I designed a couple custom brushes in Illustrator, applied them to a couple spiral paths, then copied/pasted/rotated/scaled until I had something I liked:
With these basic shapes the next stop is Photoshop where we create a document sized to the largest possible size in which the piece will be reproduced. For this project its pretty big: about 22 inches square at 300dpi.
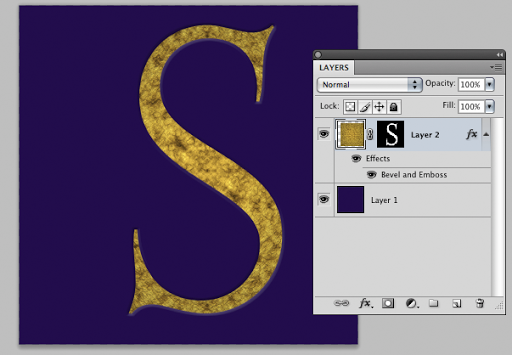
Start with simple blue layer.

Then create a gold foil texture on the next layer and duplicate it so you have two layers of gold. The gold texture is just a matter of using the clouds, difference-clouds, and the lighting effects filters. (Google will give you more tutorials on gold leaf textures than you can read in a lifetime.) With this in place, make a mask using the letter's form to mask out all of the gold except the shape of the letter. The shape of the letter needs to be slightly fatter than the Illustrator letter/tessellation design. Then add a bevel effects layer to to the letter layer to give it some relief.
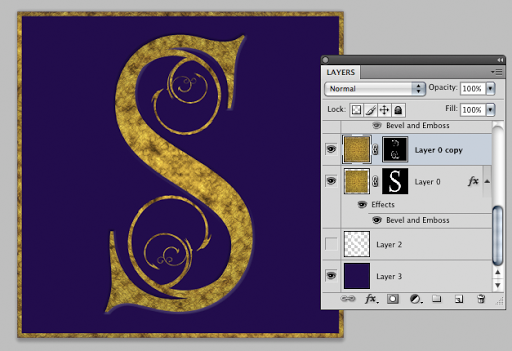
Now, copy the ornament pattern from Illustrator and use it to make a mask on the second gold layer. The reason this doesn't all happen on the same layer is because I don't want the embossed effect on the swirly ornaments—they are too delicate and start to look messy if embossed. On this same mask you can also allow the gold to show through on the outside border.
Now the fun part. Copy the letter/tessellation design from Illustrator and paste it as pixels into a new layer. Add the following effects to this layer:
- Satin: opacity about 40%, contour: rounded steps, blend mode: multiply
- Inner Bevel: chisel hard. The size setting will depend on your size/resolution.
I did some final tweaking of the color using a hue/saturation and a curves adjustment layer and grouped those adjustment layers so they only effect the main letter.

Done! What could be simpler?
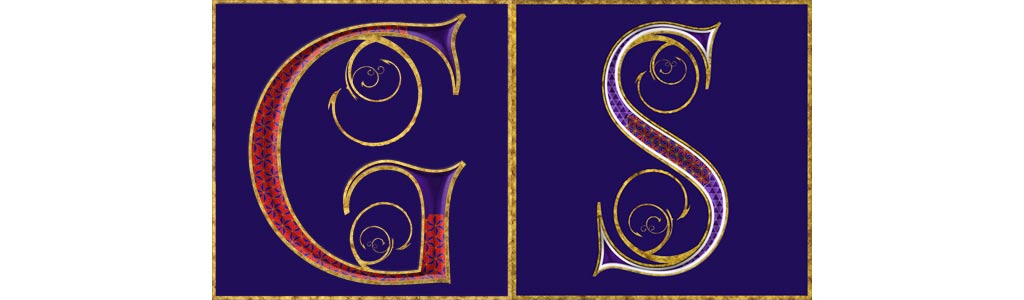
Here's a variation on the same theme: